retro balloon arch
Creating a Stunning Retro Balloon Arch for Your Event
When it comes to event decor, few things make a statement quite like a balloon arch. The retro balloon arch, characterized by its vibrant colors and playful designs reminiscent of past decades, has become increasingly popular for various occasions, from birthday parties to corporate events. If you are planning to decorate an event and want to add a touch of nostalgia and fun, creating a retro balloon arch can elevate your setup and create a memorable backdrop for your guests.
Choosing Your Color Palette
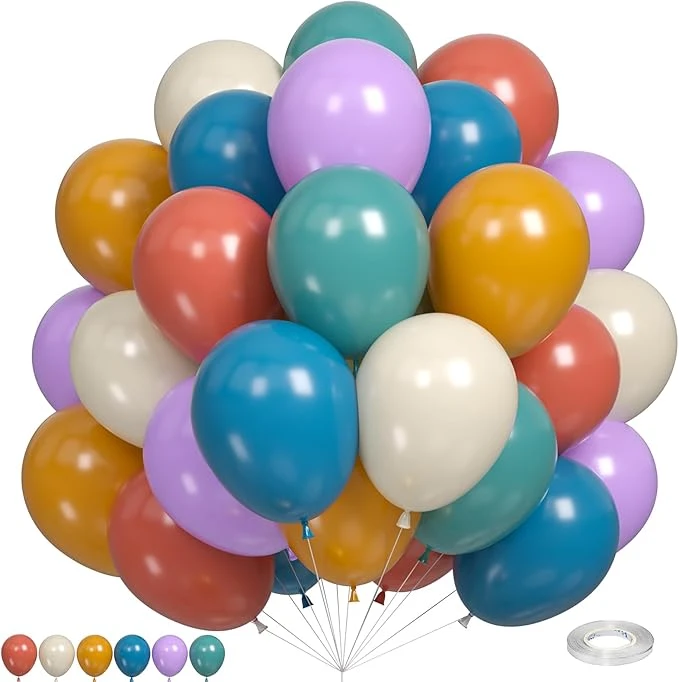
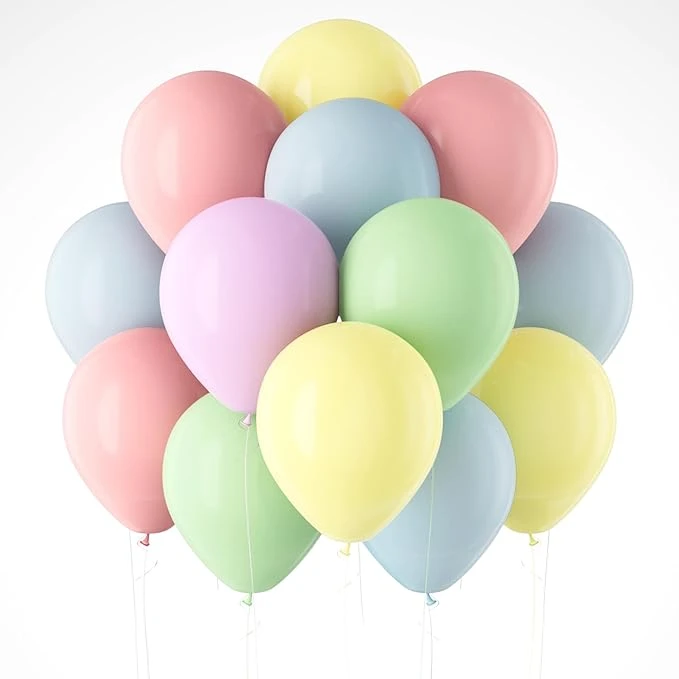
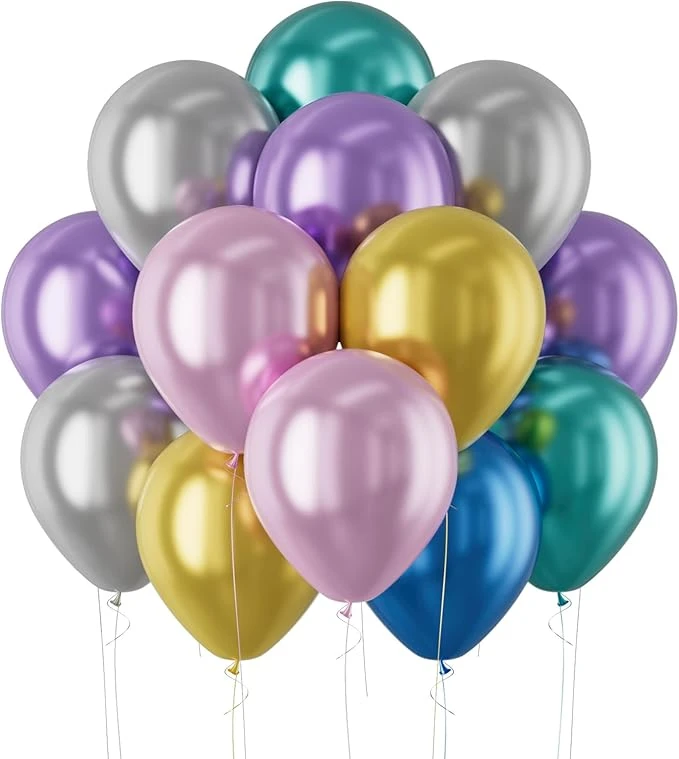
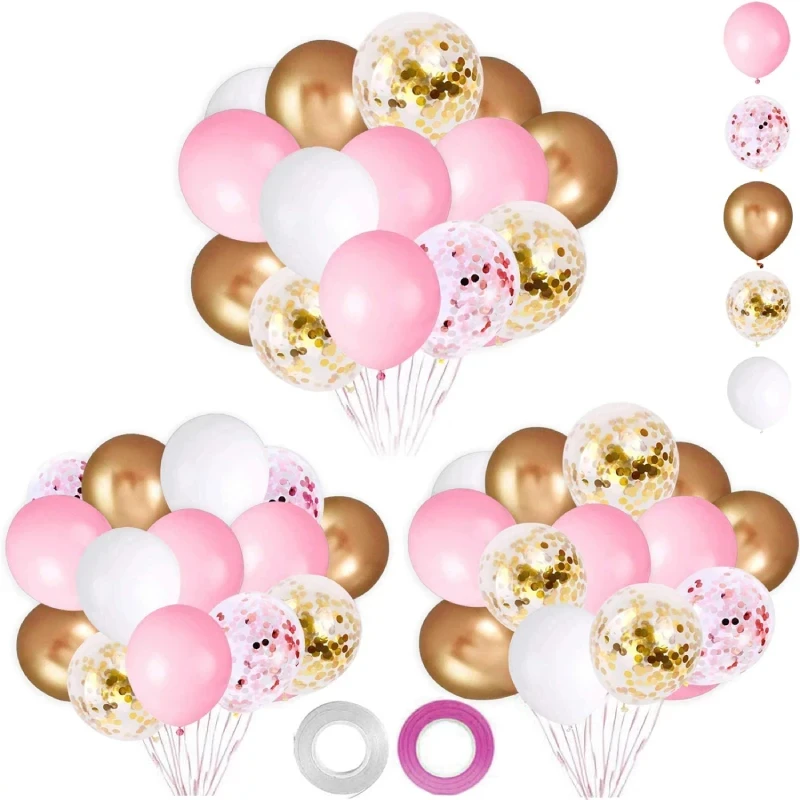
The first step in creating a retro balloon arch is selecting the perfect color palette. Retro aesthetics often draw from bright, bold colors like hot pinks, sunny yellows, aqua blues, and lime greens. These colors can help evoke feelings of joy and excitement. When choosing your colors, consider the theme of your event. For instance, if you are celebrating a ‘70s or ‘80s themed party, you might want to focus on neon colors combined with metallic hues for added flair.
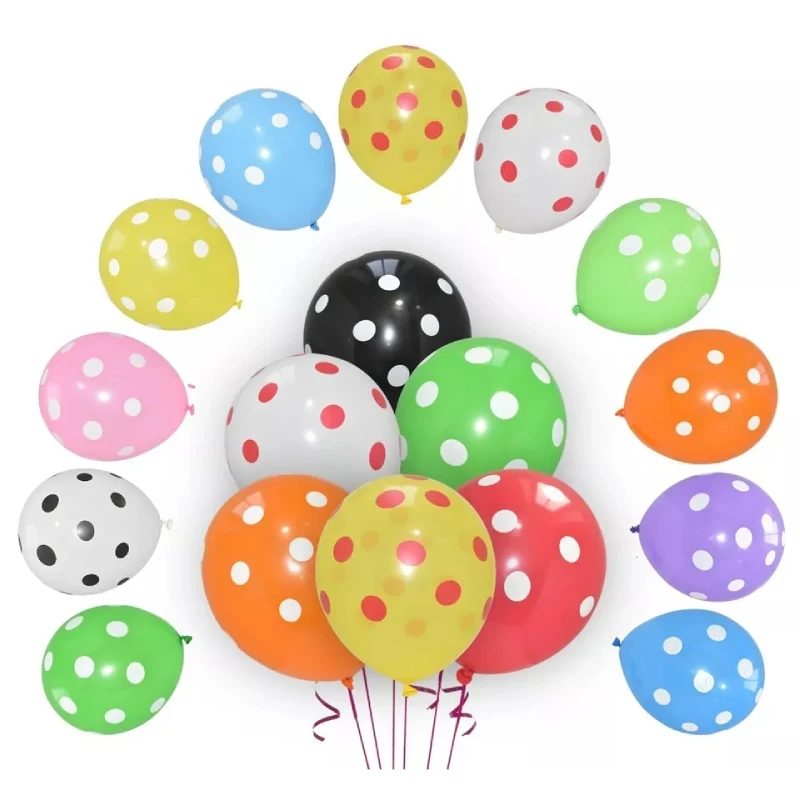
Once you have your palette, combine solid-colored balloons with patterned ones, such as polka dots and stripes, to add visual interest and that retro feel. Mixing different styles and sizes of balloons can further enhance the playful aspect of your arch.
Gathering Materials
To create your retro balloon arch, you will need a variety of materials
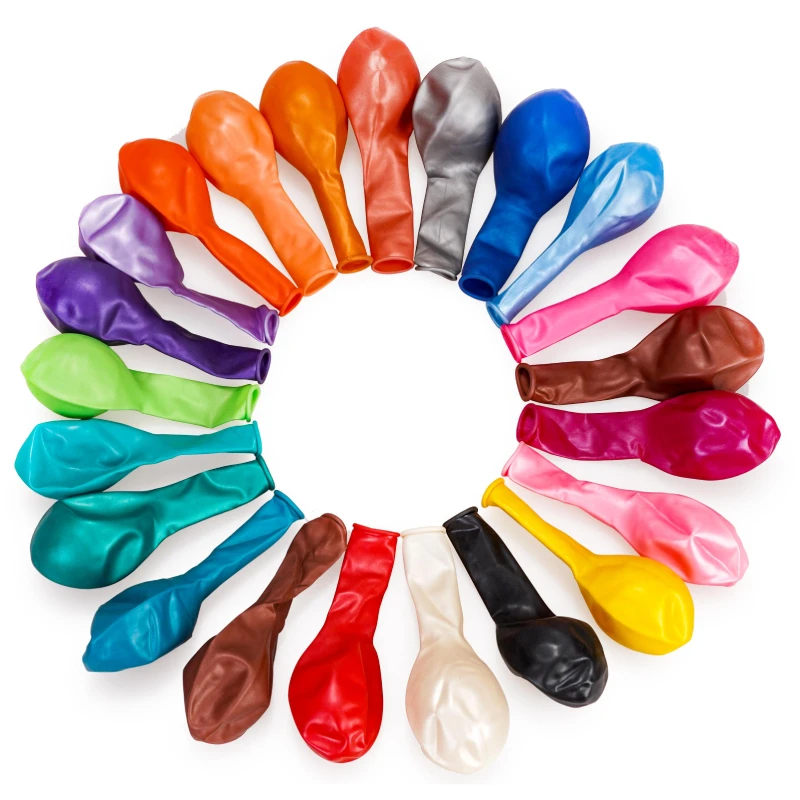
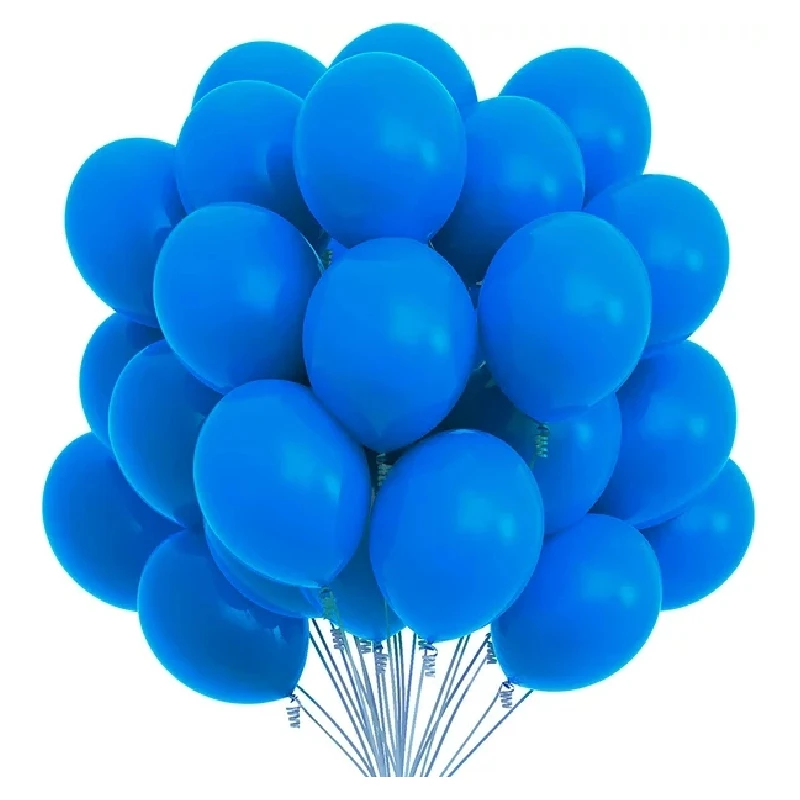
1. Balloons Choose a combination of latex and foil balloons to create a fuller arch. Standard sizes are 11 inches and 5 inches, but don’t shy away from using larger or smaller balloons for added dimension.
2. Arch Frame You can buy or make a frame for your arch. PVC pipes are a popular choice for DIY-bound individuals, as they can be assembled easily and customized to your desired width and height.
3. Balloon Decorating Strip This is crucial for attaching the balloons securely to the frame. It features a series of holes where you can tie your balloon knots.
4. Balloon Pump A hand pump or electric pump will save you time and energy when inflating balloons.
retro balloon arch
5. Decorative Elements Consider adding additional decorations such as streamers, flowers, or fairy lights to enhance the retro vibe of your arch.
Constructing the Arch
Now that you have everything prepared, it's time to create the arch. Start by inflating your balloons in different sizes. This variety will add texture, making the arch more dynamic.
Next, attach the balloon knots to the balloon decorating strip. Make sure to space them out evenly for an aesthetically pleasing design. As you work your way along the strip, you may want to alternate between colors and patterns to maintain a cohesive look.
Once your balloon strip is ready, place it over your arch frame. Secure it tightly, ensuring the balloons are evenly distributed. If your arch looks a little sparse in areas, you can fill in gaps by attaching smaller balloons directly to the frame.
Final Touches
To give your retro balloon arch an additional polished look, consider adding decorative elements. Hanging some cheery flower garlands or fairy lights can create a whimsical effect perfect for photos. You can also incorporate elements like giant inflatable shapes (think retro-style sunglasses or cassette tapes) that tie into the theme, further enhancing the nostalgic vibe.
When positioning your arch, consider the lighting and background to ensure it's a perfect spot for photographs. An ideal location can create stunning photo opportunities that your guests will cherish.
Conclusion
Creating a retro balloon arch is a fun and rewarding project that can add a vibrant and cheerful atmosphere to any event. By choosing the right colors, materials, and decorations, you can design an arch that reflects the playful spirit of yesteryear. Not only does it serve as a remarkable decoration, but it also creates an unforgettable backdrop for photos and memories. So grab your balloons and get ready to bring a pop of retro fun to your next gathering!
-
Valentine’s Day Balloon ExtravaganzaNewsJun.27,2025
-
Polka Dot Balloons for Every OccasionNewsJun.27,2025
-
New Year Balloon CelebrationsNewsJun.27,2025
-
Exciting Gender Reveal Balloon Ideas for Your Big MomentNewsJun.27,2025
-
Celebrating Dad with Unique Balloon SurprisesNewsJun.27,2025
-
Balloon Themes for Every CelebrationNewsJun.27,2025
-
Unique Decorative Pastel BalloonsNewsJun.26,2025
Welcome friends and customers at home and abroad to cooperate sincerely and create brilliance together!
-
 Service Emailhu@festivalballoon.com
 -
 Service Phone+86 18831270668
 Consult now


